> ## Documentation Index
> Fetch the complete documentation index at: https://docs.tester.army/llms.txt
> Use this file to discover all available pages before exploring further.
# Quick Start
> Sign up, create a project, and run your first AI-powered test in under 5 minutes - with a coding agent via the CLI or from the dashboard.
Let your coding agent set up TesterArmy for you using the [CLI](/cli).
### 1. Create an account
Sign up at [tester.army](https://tester.army/sign-in).
### 2. Install and authenticate the CLI
```bash theme={"theme":"vesper"}
npm install -g testerarmy
ta agent init
ta auth
ta status --json
```
Generate a key in the [API Keys dashboard](https://tester.army/dashboard/profile/api-keys) and paste it when prompted. The CLI stores it locally for future commands.
### 3. Prompt your agent
```txt theme={"theme":"vesper"}
Use TesterArmy CLI (`ta`) to set up QA for this project. Start with
`ta docs --json`, create a project, create a saved test, run it, and report the
commands, run ID, result, and artifacts. Use `--json` for automation.
```
The agent will create the project, draft tests, and execute them - without you leaving your editor. See [Agentic Usage](/cli/agentic-usage) for the full workflow.
### 1. Create an account
Sign up at [tester.army](https://tester.army/sign-in).
### 2. Create a project
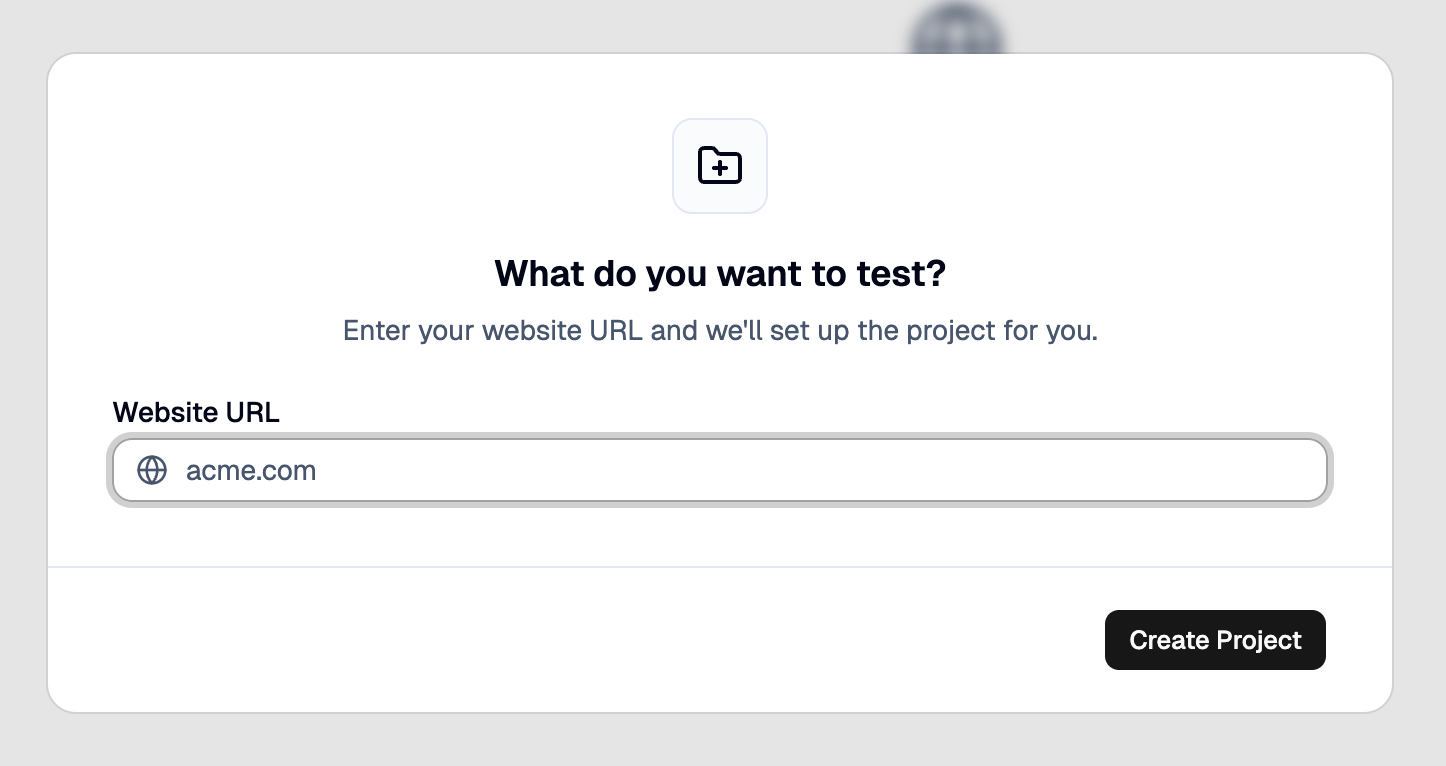
Click **Add project** in the dashboard sidebar and pick **Website** or **Mobile app**. Enter a project name and website URL (e.g., `https://staging.myapp.com`), or an app name and app binary for mobile. Click **Create project**.
 ### 3. Create a test
Click on create a new test and type-in your prompt. This will generate a test plan that you can tweak. After approving the plan, click **Run**.
### 3. Create a test
Click on create a new test and type-in your prompt. This will generate a test plan that you can tweak. After approving the plan, click **Run**.
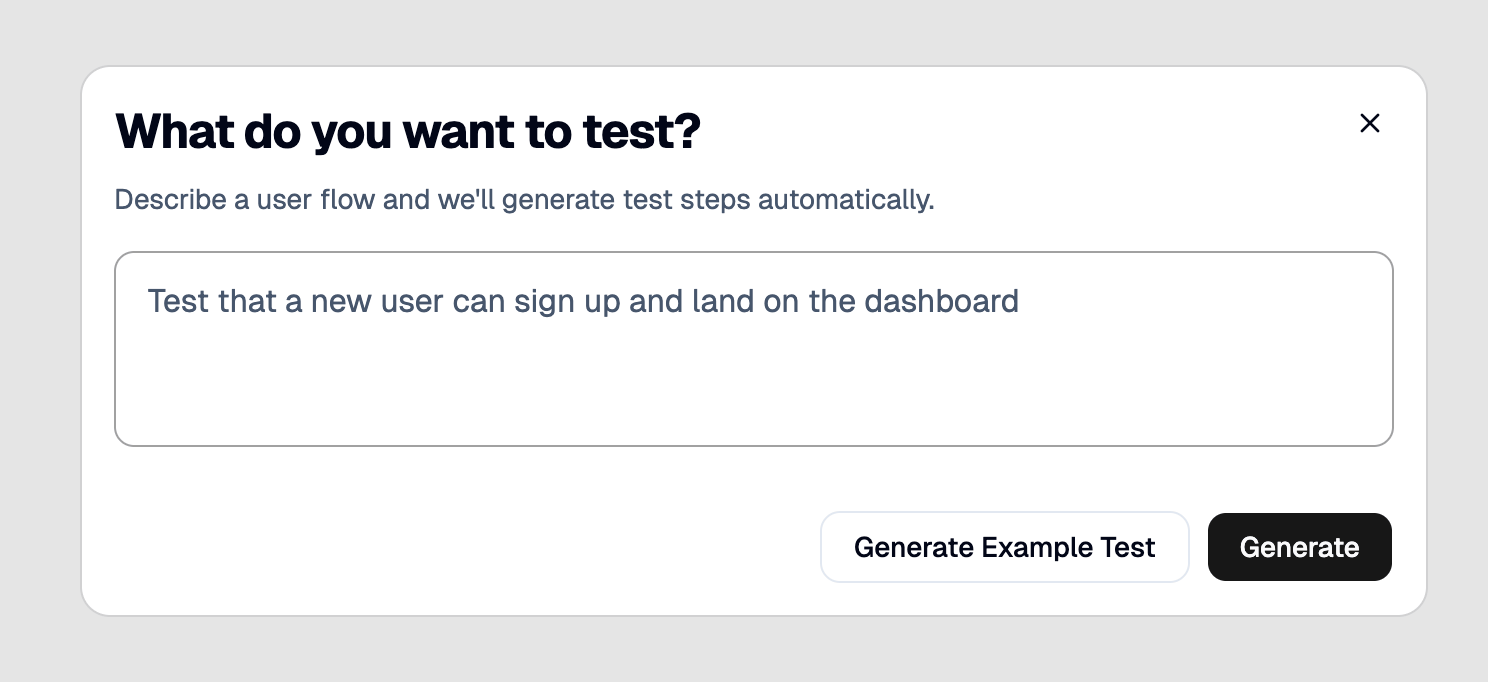 This will generate a step-by-step test plan that you can tweak before running:
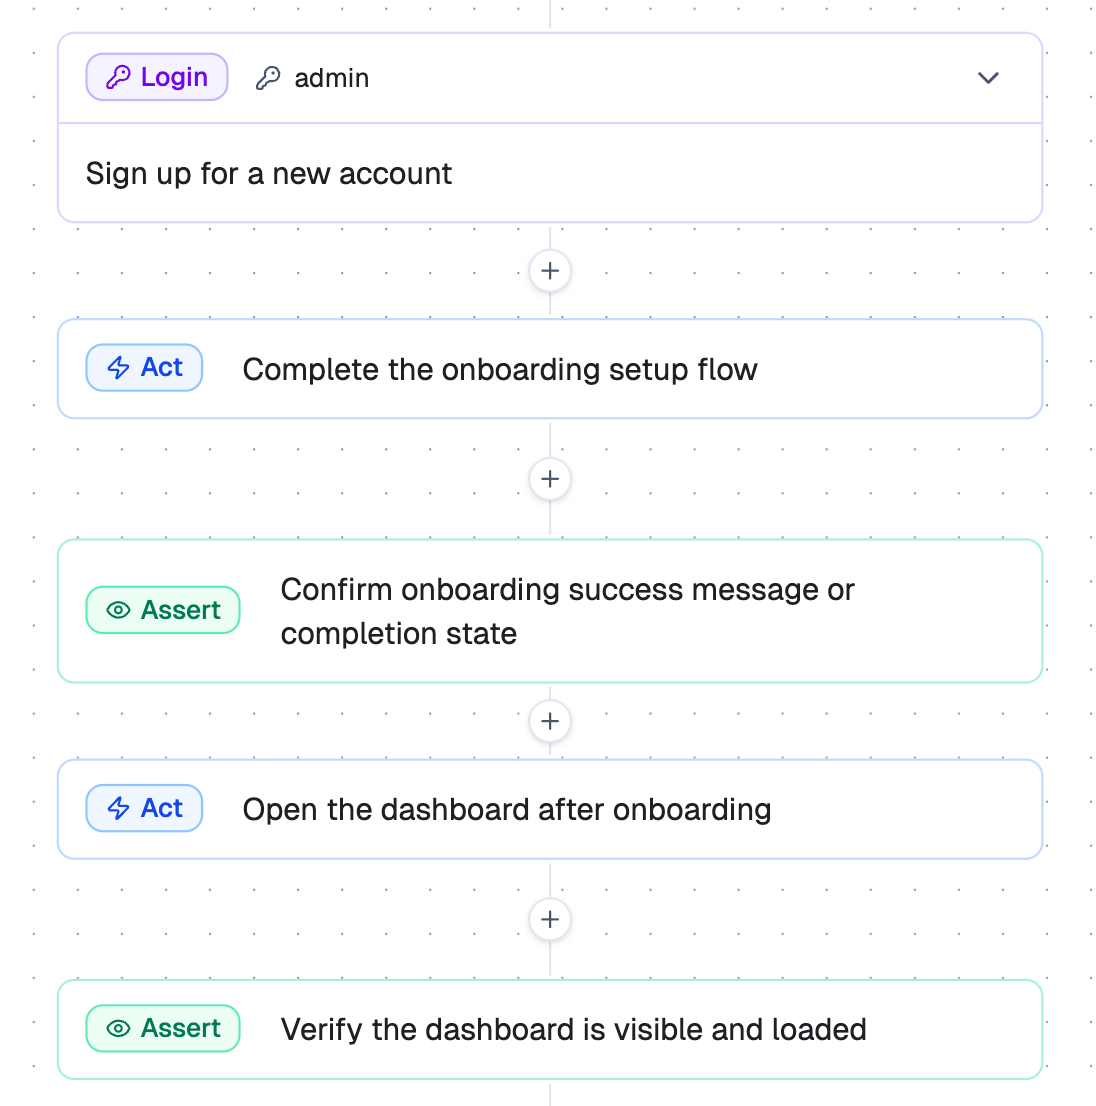 After reviewing the steps, click **Run**.
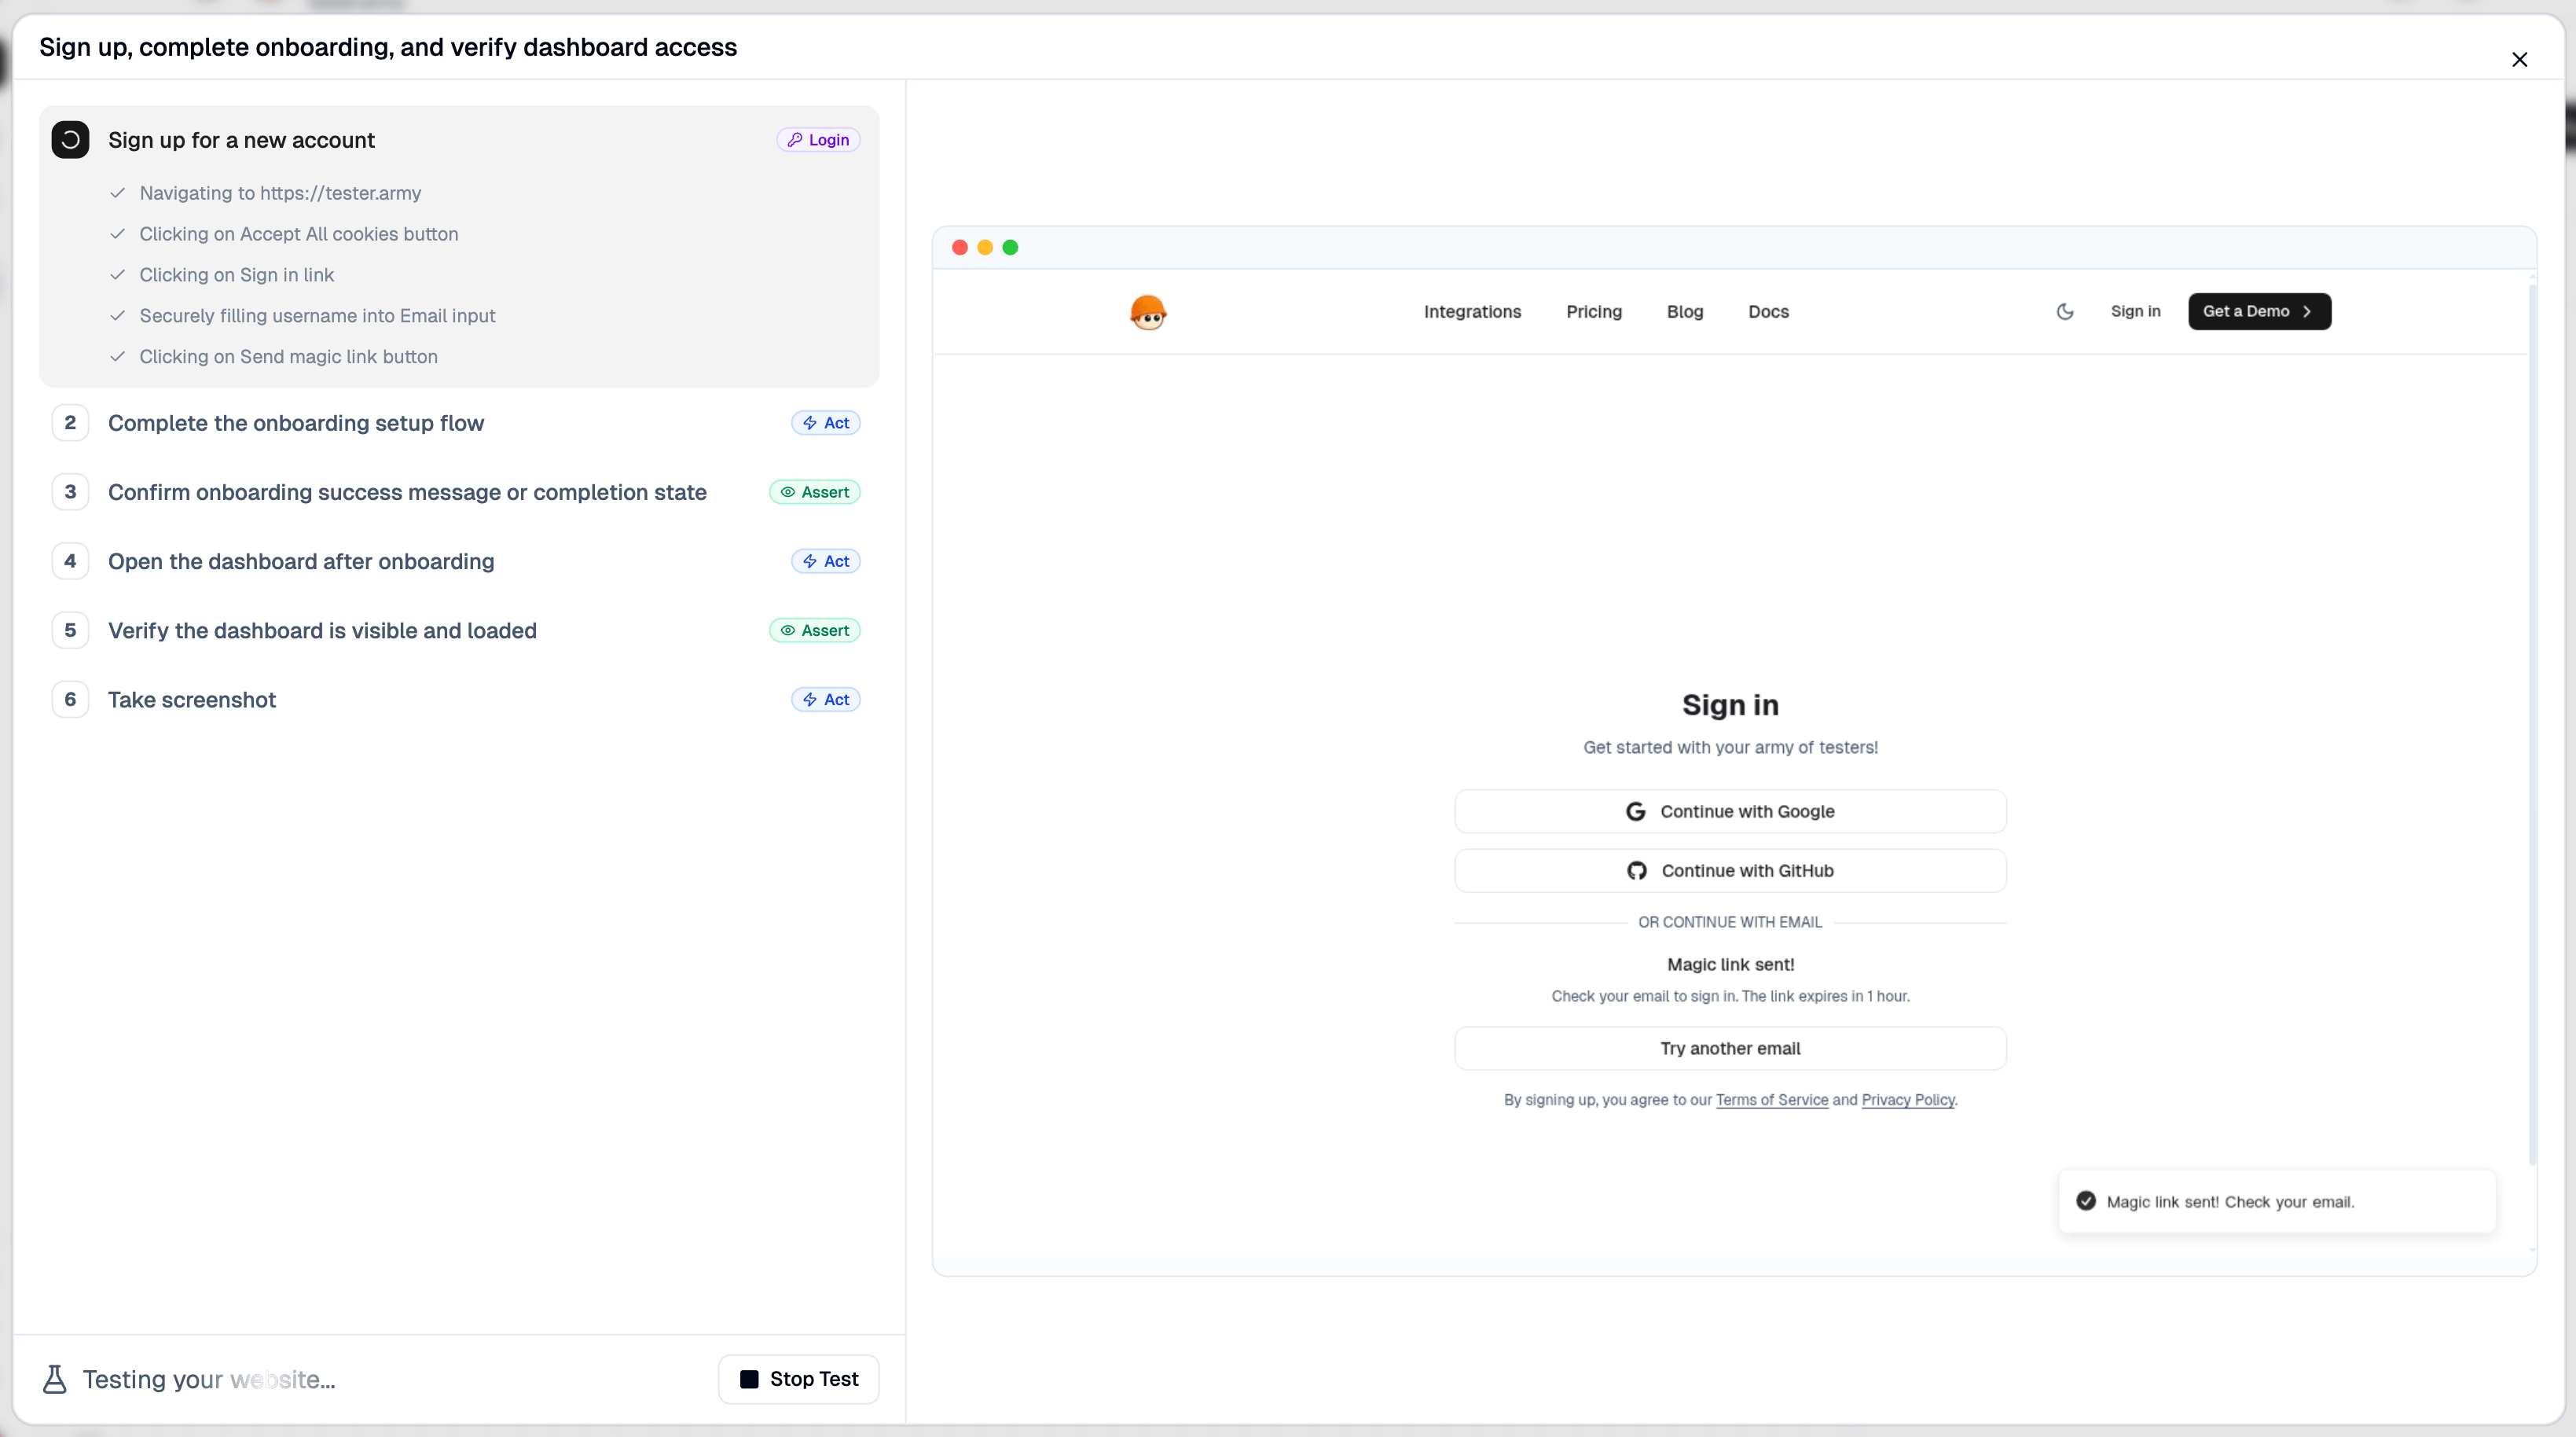 This will open a cloud based browser and our agent will execute the steps and give you feedback if something goes wrong.
Congrats! You successfully created and executed your very first test!
Testing is all about consistency, you should set up [Production Monitoring](/run/production-monitoring) or [PR Testing](/run/pull-request-testing) to guarantee everything keeps working.
## Next steps
Automatically test every pull request on deploy.
Monitor your production with recurring test runs.
This documentation is built and hosted on [Mintlify](https://mintlify.com), a developer documentation platform.
This will open a cloud based browser and our agent will execute the steps and give you feedback if something goes wrong.
Congrats! You successfully created and executed your very first test!
Testing is all about consistency, you should set up [Production Monitoring](/run/production-monitoring) or [PR Testing](/run/pull-request-testing) to guarantee everything keeps working.
## Next steps
Automatically test every pull request on deploy.
Monitor your production with recurring test runs.
This documentation is built and hosted on [Mintlify](https://mintlify.com), a developer documentation platform.